How to enable keep-alive in WordPress (speed up your website)

Whether you own a blog or a website, page-loading speed always matters and these simple techniques will boost your webpage loading speed by enabling Keep-Alive in WordPress.
What is keep alive?
Keep-Alive also was known as persistent HTTP connection is a method to allow the same TCP (Transmission Control Protocol) connection for HTTP conversation instead of opening a new one with each new request.
For better understand, When you visit a webpage (for example www.techaipost.com), your web browser creates a connection with web-server and sent a request to access a particular file, And when the server allows your Browser started downloading the file, than create another connection for the second file and the process goes on.
So if a web page requires 10 files to display correctly, then your browser request for all these files and has to create 10 separate connections after each file download and request one by one to web server for OK to access files.
And Enabling Keep-Alive on WordPress help the web browsers to create only a SINGLE connection to access all the files from the web server in a single request. It significantly reduces number of requests to the web-server, as a result that reduces Server CPU Uses (Server Load) and improves the page loading time.
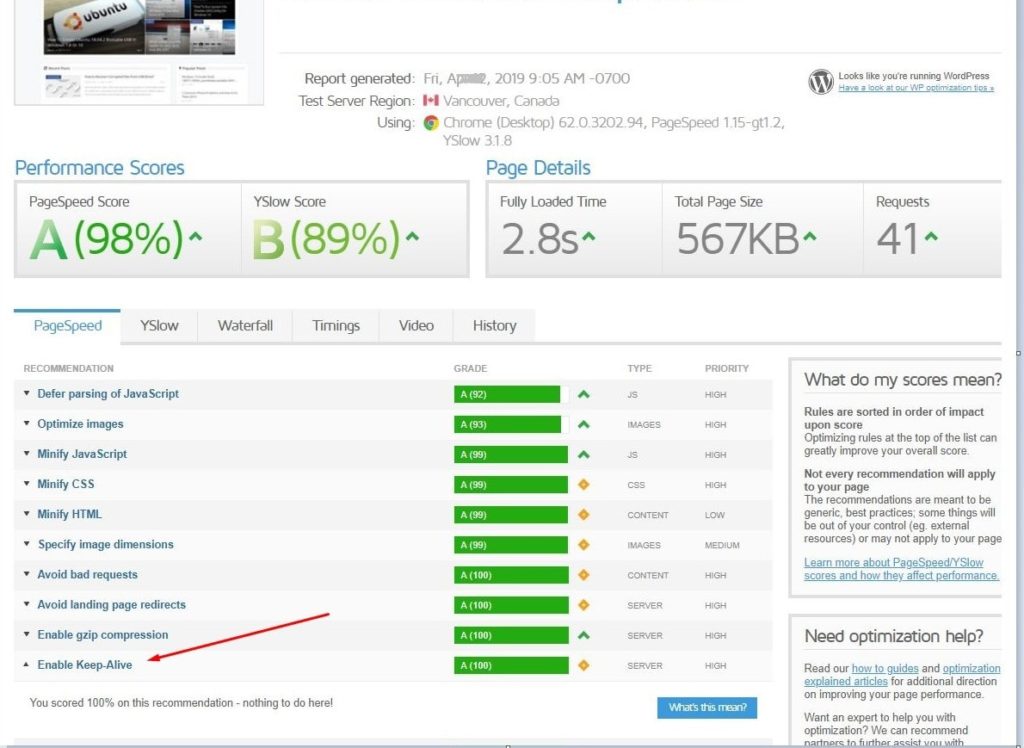
check keep-alive status
To test if Keep-Alive has been enabled by your web host:
- Click onto this link,
- Enter your domain name,
- Wait for your site to be analyzed, then
- Scroll down the test results until you find your Keep-Alive status.

How to Enable enable keep-alive in WordPress?
Enable keep alive in WordPress is simple and easy, only you need to add below piece of code after the last line in your .htaccess file.
# TN START ENABLE KEEP ALIVE
<ifModule mod_headers.c>
Header set Connection keep-alive
</ifModule>
# TN END ENABLE KEEP ALIVE
If you do not know how to edit .htaccess file, here two different ways to edit .htaccess file on WordPress.
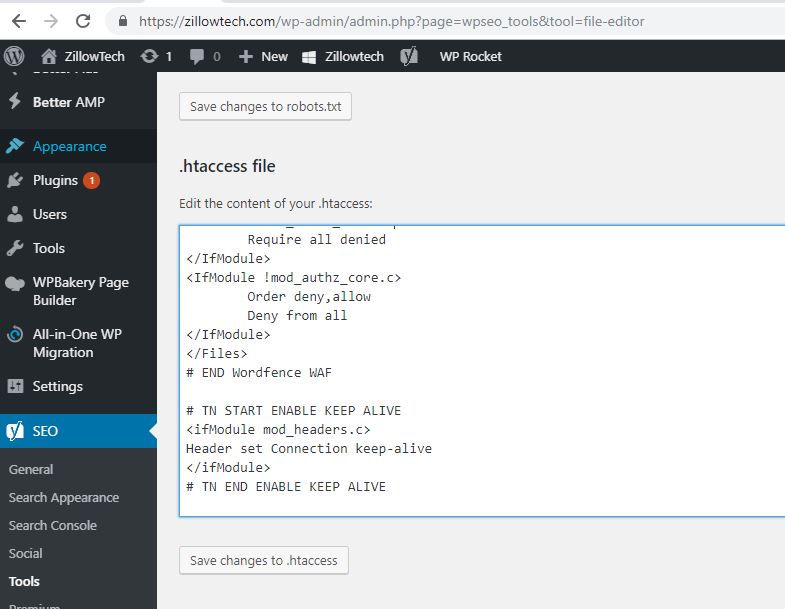
Edit WordPress htaccess file using Yoast SEO Plugin
If you are using Yoast SEO plugin here follow steps below to edit htaccess file and enable keep-alive in WordPress.
- Open WordPress Dashboard,
- Click on Yoast SEO then Tools,
- Then click File editor,
- Here look for htaccess file editor box and at the end place code below to enable keep alive for your WP.
- And click save changes to htaccess button
# TN START ENABLE KEEP ALIVE
<ifModule mod_headers.c>
Header set Connection keep-alive
</ifModule>
# TN END ENABLE KEEP ALIVE

Edit WordPress htaccess file using cPanel
- First of all, log in to your hosting account or directly log in to your cPanel.
- Go to the file manager.
- Head over to the settings and Turn On the hidden file, if already not activated.
- Find your website’s root directory.
- Look for the .htaccess file in the public_html folder or in your website’s root directory.
- Finally, right-click on the .htaccess file and follow your cPanel instructions to edit the file.
- Then place that code and click save button.
That’s all, you have successfully enabled keep-alive in WordPress.
