Solved: Windows 10 Laptop not charging after windows update

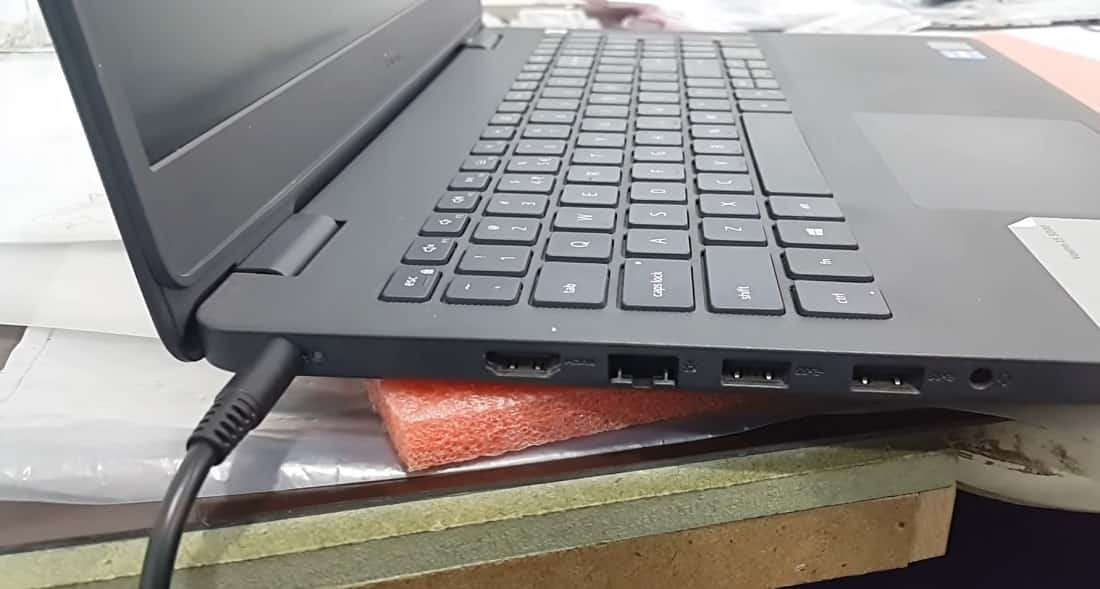
Did you notice the laptop’s battery stopped charging after Windows 10 upgrade? You are not alone a number of users report laptop not charging after windows 10 update. The laptop itself recognizes the charger is connected as the small LED next to the AC charger port, lights up white, But there is no improvement on battery charging percentage. If you are struggling with this problem, here are some effective solutions to Troubleshoot Laptop Battery Not Charging Issues in Windows 10.
Troubleshoot Laptop Battery Not Charging Issues
If the laptop battery is not charging or the laptop does not indicate that the battery is charging, the most likely scenario is that the battery itself is operating correctly, but its power management software may have become corrupt. And reinstalling power management software on Device manager most probably fix the problem for you.
- Before go ahead re Check if Your AC Power Supply is Properly Connected.
- Try a Different Wall Outlet and Check for Low Voltage and Electrical Issues.
- Test with Another Charger.

If you keep external devices such as a smartphone, a USB external drive, mouse, printer and anything else attached to your system while charging, it will take longer for your battery to reach 100%. Make sure you disconnect all of those devices so your system won’t be competing with all the other electronics.
Run Windows 10 Battery Diagnostics tool
Run Windows 10 Battery Diagnostics tool by following the steps below, which may fix the problem
- Open Start > Settings > Update & security > Troubleshoot
- Scroll down then click Power
- Click Run the troubleshooter
- After Complete the wizard restarts your device to see if the problem is resolved.
Sometimes unknown glitches can prevent the battery from charging.
- Disconnect the power adapter, and remove the batter.
- Press and hold down the power button for 15 to 30 seconds,
- Insert the battery again and plug in the AC adapter, then start the computer.
Reinstall power management software
- Bring up Device Manager and uninstall the ACPI-Compliant Control Method Battery drive under “Battery” (or “Batteries”).
- Shut down the PC.
- Remove the battery and disconnect the AC.
- Hold the power switch down for 60 seconds.
- Connect the battery (no AC yet) and power on. The PC is now running on battery.
- Connect the AC. It started charging! Note: connecting the battery before the AC seemed to do the trick.
Reinstall Battery Driver
A number of users marked Reinstalling the battery driver will usually fix batteries that aren’t recharging.
- Press Windows + R, type devmgmt.msc and click ok
- This will open the windows device manager and display all installed device driver list,
- Now expend Batteries in the Device Manager window.
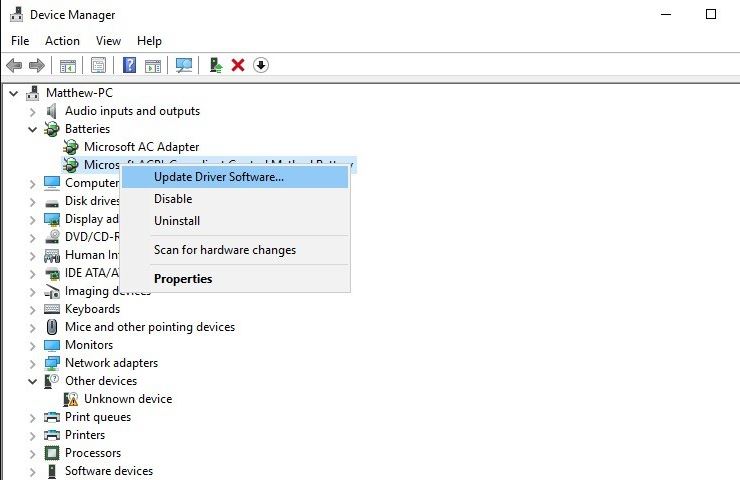
- Next, you should right-click Microsoft ACPI-Compliant Control Method Battery and select Uninstall from the context menu.
- Click Uninstall to confirm
- Click Action and then select Scan for hardware changes from there.
- Select Batteries and right-click Microsoft ACPI-Compliant Control Method Battery again. Select the Update Driver Software option from the context menu.
- A window opens from which you should select Search automatically for updated driver software. Windows will then find suitable battery drivers for you.

How to improve the life of a Battery
- It is not advisable to use the Notebook when the Power Adapter is connected
- It is not advisable to keep the Power Adapter plugged in even after the Battery is fully charged
- Always let the battery drain completely before charging again
- Power Plan should be set correctly for extended battery life
- Always keep the Screen Brightness at the lower level
- Turn OFF Wi-Fi Connection when not in use
- Remove the CD/DVD’s from the Optical Drive when not in use
