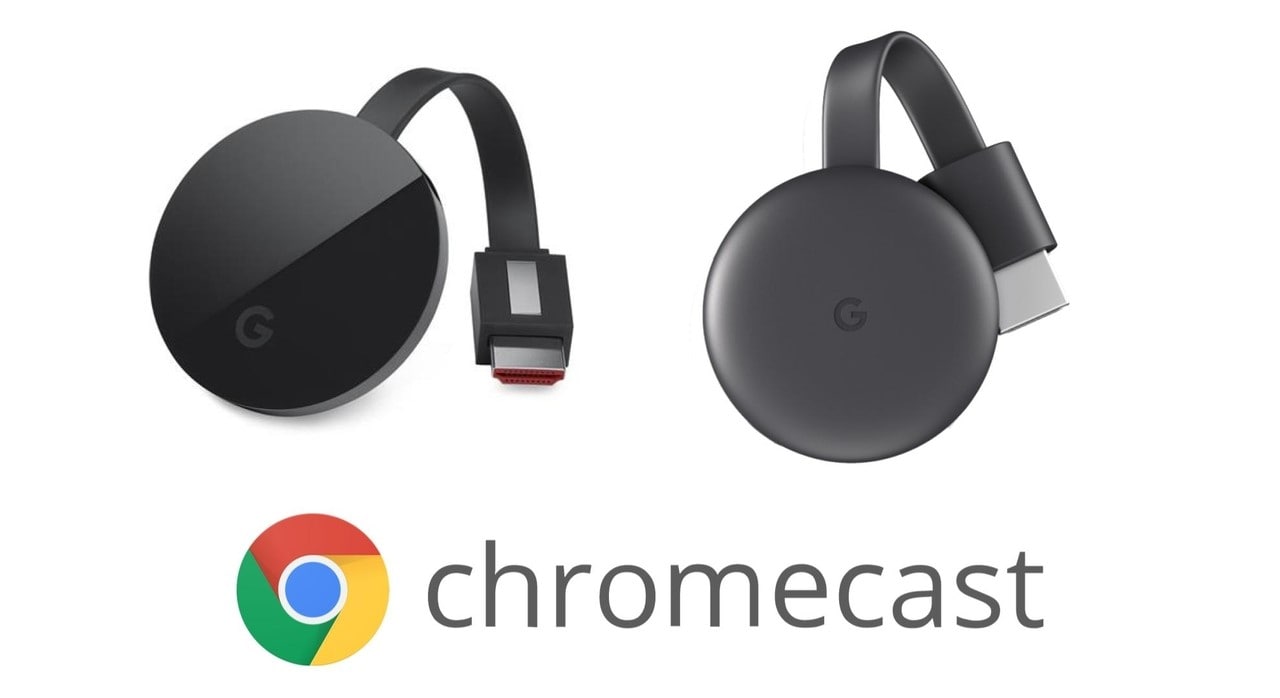
3 Reasons to Start Using Chromecast with a VPN

When Google unveiled the Chromecast in 2013, it was a magical device for most users. The Chromecast basically transforms your non-smart TVs or a monitor into a smart tv. Using this dongle you can stream popular apps like Netflix, Hulu, Disney+, Youtube, Prime Video etc. directly from your smart device to your TV screen or monitor.
Google’s Chromecast however, has one major flaw. There is no way to install a VPN on it. The Chromecast is a standalone device that has a local IP address when connected to a network. So, even if you’re streaming from a VPN enabled device, the VPN doesn’t transition to the Chromecast.
You might be thinking why do you need to install a VPN on your Chromecast in the first place. Here are 3 reasons why you’re viewing experience will massively improve when using the Chromecast with a VPN.

Unlock geo-blocked streaming content
One of the most frustrating things about popular streaming services is that the content library is different in different countries. If you’re watching Netflix in India, you’ll have access to a very different content library than US Netflix, even though you’re basically paying the same subscription fee.
By using a VPN with your Chromecast, you can access any content available in any region. As long as you know which country has access to the content you want, you can easily access it by changing your server location on the VPN app.
Avoid ISP throttling
While most internet service providers (ISPs) deliver a fast internet connection, you might often experience sudden drops in your internet speed during streaming on popular platforms. This usually happens when the ISP intentionally reduces your internet speed to minimize traffic or bandwidth congestion on your local network. This is known as ‘ISP Throttling’.
When you use a VPN with your Chromecast, you’ll no longer be at the mercy of your ISP. A VPN will hide your activities on the network from the ISP, stopping them from knowing when to interfere with your connection. Avoiding ISP throttling with a VPN will often increase your connection speed, providing you with a more stable streaming experience with the Chromecast.
Unlock Your Favourite Streaming Sites
As more and more streaming sites are entering the OTT (Over-The-Top Media Service) industry, it’s becoming quite impossible to find popular content under a single streaming platform. That’s why you’ll need to access multiple streaming sites so that you don’t miss out on any new popular titles. However, a lot of the popular streaming sites are not available in every country.
For example, you won’t be able to access HBO max if you’re living outside the US. Other popular sites such as Hotstar and Disney+ are also not available in major countries such as Australia and India. You can ease this issue by using a VPN with your Chromecast. Thanks to the encryption used in VPN connections, you can easily access any streaming site and gain access to all popular titles.
How to Install VPN with Chromecast?
You can set up a VPN with Chromecast directly on your physical router or create a virtual router using your PC. Both methods require a bit of technical experience, as they are far more complicated than the usual click and connect process.
If you want to install a VPN with Chromecast on a physical router, you’ll have to check whether your router is compatible with a VPN. Not all routers are VPN compatible, and different routers often support different VPNs.
If your router is VPN compatible, you can follow the router setup guide on your VPN guideline page. Simply follow the instruction to set up the VPN on the router. You can then connect to a server and open the Chromecast app, and it will be running with a VPN.
However, if your router is not compatible with your chosen VPN, you’ll need to set up a virtual router through your PC. This is of course a more complicated process.
On a Windows 10 PC, you’ll need to create the virtual router through the command prompt. First, make sure that your PC is connected to your preferred VPN. Run the cmd as administrator, and follow these steps:
- Run this command “netsh wlan set hostednetwork mode=allowssid=NETWORKNAME key=PASSWORD”
- After setting up your network name and password, run this second command “netsh wlan start hostednetwork”
- You should see a message that says “The hosted network started”.
- Go to the Network and Sharing Center in your control panel, and go to Change Adapter Settings.
- You’ll see your VPN connection here. Go to Properties.
- You should see your newly created virtual network under the Home Network Connection tab.
- Turn on your Chromecast app, and select your virtual router when connecting to Wi-Fi.
- Now your Chromecast will be running with the VPN on a virtual router.
- Now your Chromecast will be running with the VPN on a virtual router.
You can follow either of these methods to use Chromecast with your preferred VPN. However, the process of connecting through a virtual router is different on the different visions of the Windows OS and Mac.
